|
|
|
|
I don't have much time, but felt like I should make an update, since it's been over a month since the last one. A lot has happened in that time. The Body has been completely stripped and cleaned, and I hauled it off to the sandblaster last week. It should be done in the next couple of days. Then I'll haul it straight to the body shop so they can start working on it. In the mean time, there are plenty of little parts that need to be restored, and I'm working on them. I bought a zinc plating kit for metal parts that will not be painted, primarily hardware, but other parts as well. It works quite well and the parts come out looking great, but it takes a while to do a bunch of bolts and nuts one at a time. I also bought a blackening kit. It makes metal black, similar to anodizing aluminum. I'm not sure if there will be many things I'll use it on, since most of the black parts are already painted.
Next, I'll have to finish restoring the springs so we can put the suspension back on when the body work is done, and I need to get the fuel tank, radiator, oil cooler, and heater core cleaned and painted (where applicable).
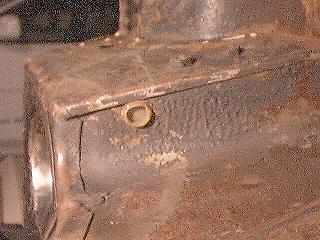
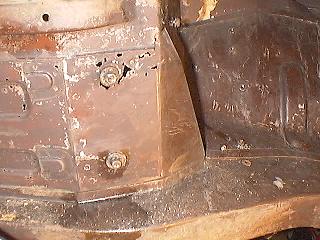
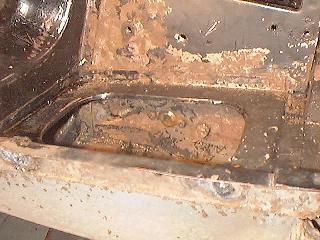
This shows a plug under the steering column hole on the passenger's side.
Another shot of the same area, a little farther away, also showing the
drain from below the heater box.
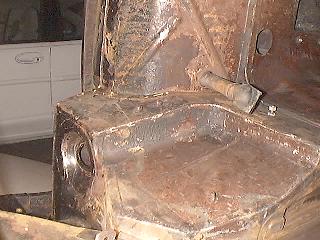
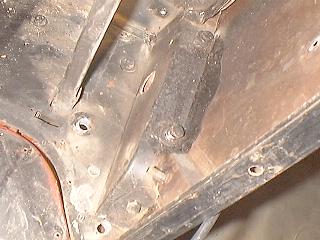
Here's a plug next to the battery compartment on the driver's side.
This shows where the drain hose from below the heater box connects.
Just a shot of the rust.
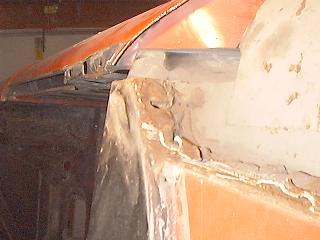
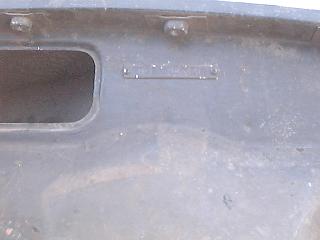
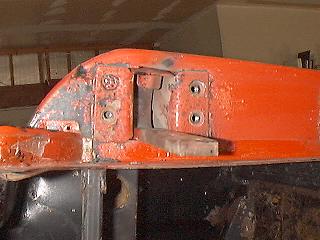
This is a sideways view showing the bolts under the dash that fasten the
top of the fender to the car.
Another view of the same bolts.
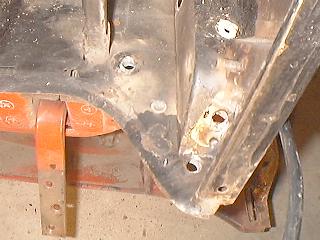
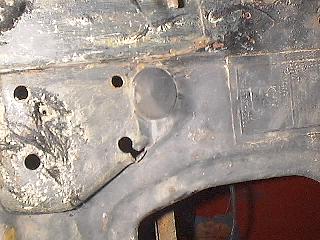
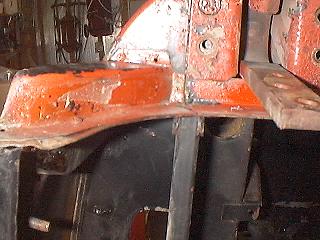
Here's a view showing the outside of the same area, after the fender has
been removed.
The passenger's side fender well in the engine compartment, showing the
location of a few screws.

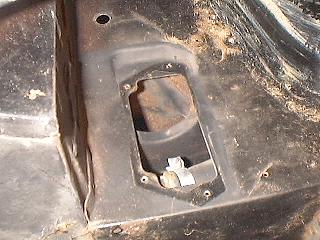
This is inside the area where the wiring harness comes out of the interior
into the engine compartment, showing a couple of bolts.
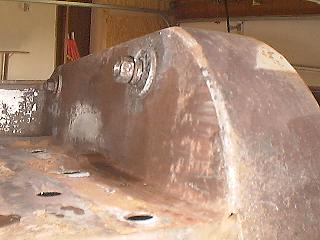
This is the plate with the car number on it.
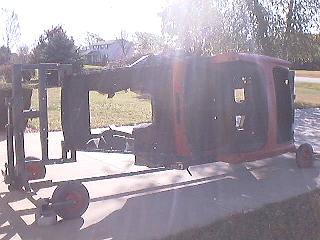
Here's the car, ready for the sandblaster.
These are the nuts that hold the door hinges to the body shell.
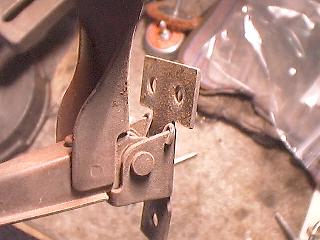
Door hinge. Of primary interest here is the small panel that screws
onto the body (in this picture it is just to the left and down a little from
the hinge). I can't find this panel anywhere in the catalogs I have.
Another view.
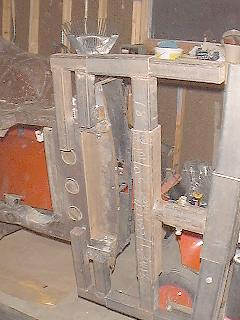
This shot shows how the car is attached to the rotisserie. My dad's
neighbor wanted to know how we did this. It's not a very good picture,
so I hope he can make it out. I'll try to get better pictures when
it gets back from the sandblaster.
Here is the way the hood safety catch is put together.
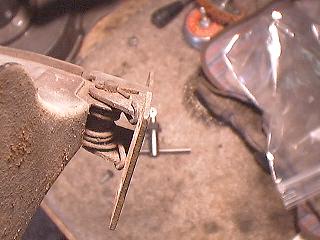
Another view.
|
|
|
|