|
|
|
|
The car is still at the body shop. I went out yesterday to take more pictures. I made an update to the web site on the 10th, but didn't send a notice because I was in the process of moving the web site due to space limitations. The new "home" for the car is http://criageek.com/64mgb/index.html/ Anyway, they have all the fender patches done, the floor pans are in, the battery boxes have been replaced, the antenna hole in the right front fender has been welded shut, and the holes in the trunk where the luggage rack was have been closed. There is still a lot of work to do, but it's nice to see progress.
I've been struggling to figure out a good way to make the hardware (bolts, nuts, other parts that would look good unpainted) look good, and protect it from rust. I started out by cleaning bolts and stuff with a wire brush in the drill press and spraying with Krylon clear. But that makes them look kind of dull and dirty. So then I started sandblasting them, then plating with the electroplating system, then polishing with a wire brush in the drill press. That made them look great, but I finally (after plating nearly everything) tested a couple of bolts by letting them sit in water over night, and they rusted. So now I am following this process by applying a coat of clear lacquer. This appears to work, as longs as I get a good coat of clear on them. They still look great, but don't rust (at least not as easily). So now I'm going to start spraying everything that I've already plated with a coat of clear, and re-doing the stuff that hasn't been plated, but was just clear coated. Obviously plenty of work. And sort of expensive...with the cold temps I'm going through about 3 gallons of kerosene per week (at $2 per gallon).
I've got the windshield torn apart. Actually, I have both windshields
torn apart, including the one from the first car I bought. The glass
from the "main" car is in good shape, although it's tinted, which isn't
original. The glass from the "old" car has scratches in it from bad
wiper blades. But the frame from the "old" car is in better shape than
the one form the "main" car, so I'll try to restore it. I'm having
trouble finding a way to polish it, though. I just ordered a bunch
of polishing stuff (buffs, compound, etc.), some of it specifically for polishing
aluminum, and a book on restoring trim pieces, so hopefully that will help.
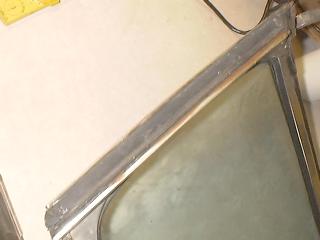
Here's a view of the passenger's side of the windshield frame. The
top is to the left, the bottom to the right,
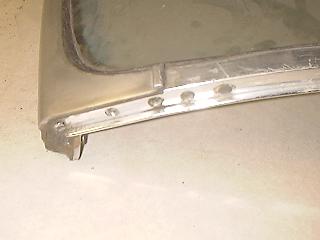
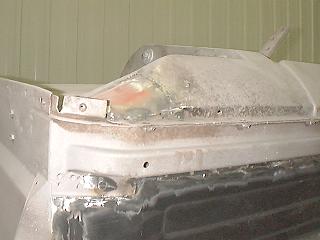
Here's how the side post is fastened to the tope frame. The two
"dots" to the right are rivets that hold a bracket in place which has three
threaded holes in it. The other three "dots" are screws that screw
into this bracket.
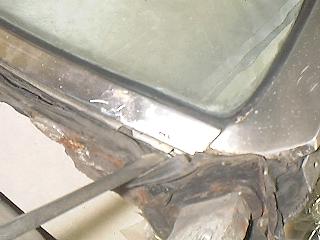
This is how the side post is fastened to the bottom frame. Under
the bottom seal there are 2 screws that thread into a bracket similar to
the one at the top, except that this one is an "L" bracket, with both legs
of the L fastened with screws.
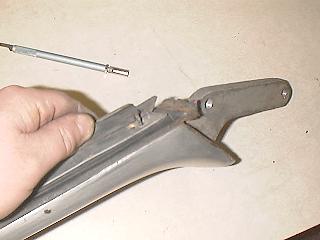
This shows how the side seal is fastened to the side post. There
is a channel attached to the side post with rivets. The seal slides
into this channel. It's held in place with machine screws that go
through a metal plate that's inserted down he center of the "hollow" section
of the seal. The screws thread into the side post.
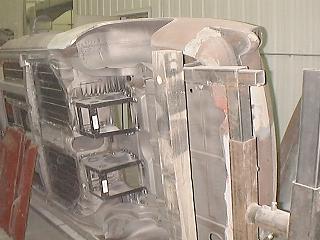
Here's a view of the bottom of the car at the body shop, showing the new
battery boxes.
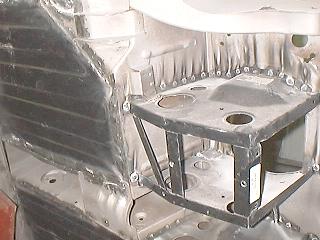
Here's a closer view of one of the new battery boxes. You can also
see the new floor pans.
This shows the patched up left rear quarter panel.
This is the patch job on the front of the driver's side sill. It'll
be under the fender, so won't show.
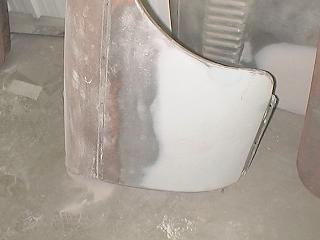
Here's the patched passenger's side front fender.
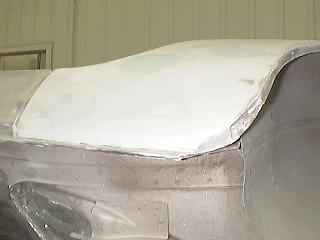
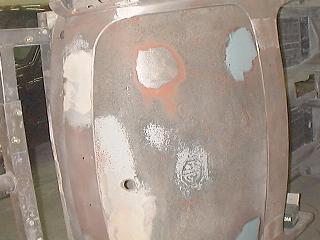
This shows the trunk, with the holes where the luggage rack was mounted
welded shut and smoothed out with filler.
|
|
|
|