|
|
|
|
This are moving along nicely! Most of the things we've worked on
so far don't do much to make the car look more like a car, but we're laying
the groundwork for doing the "visible" stuff. A lot of things under
the car, behind the dash, etc. The rear brakes are done, including the
handbrake, the heater box is in (for a second time...thanks Randy!), all
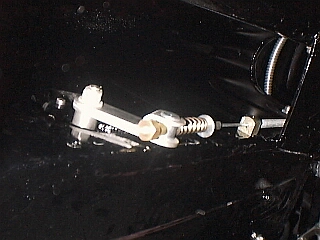
the plumbing is done except the clutch pipe. We're having a little trouble
getting it bent correctly...it's quite stiff and needs to be bent very sharply
at the master cylinder. The wiring is all in place, and in some cases
connected (regulator, starter solenoid, brake pressure sensor, horns, taillights,
flasher unit. I had the wipers in place, but decided to take them back
out. I want to try to find some compound to apply to the connection
between one of the wiper motor mount bolts and the firewall to help insure
a solid connection, since there are several ground wires that attach there.
The vinyl for the top of the dash is in place, as well as the crash
pad on the top edge of the dash. I'm somewhat concerned about the dips
in the top of the dash where the demister vents are. They leave quite
a gap under the lower windshield frame, so we might need to find a way to
raise these dips if the lower windshield seal doesn't fill this gap effectively.
Here's the top of the dash with the vinyl glued in place. This shows
one of the demister outlets, which is "dipped" lower than the rest of the
dash. When I lay the bottom windshield frame on the dash there is a
pretty good sized gap between it and the dash top that I'm somewhat concerned
about.
Here's another view of the dash area, showing the crash pad.
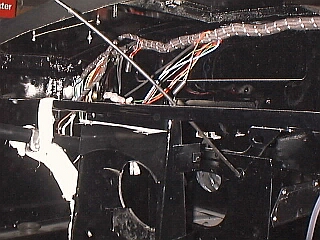
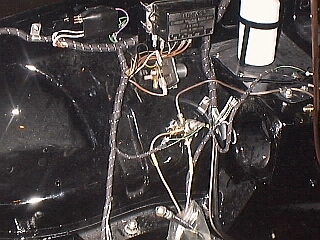
Here's the wiring under the right side of the dash...

...and the wiring under the left side of the dash. Notice the heater
cable in the foreground. My brother worked on getting the heater box
and this cable installed for quite a while today, and even had to re-do it
after I discovered a seal that we left out.
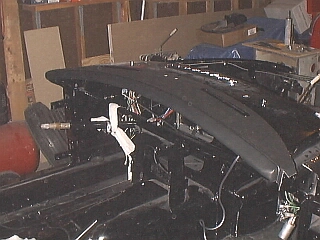
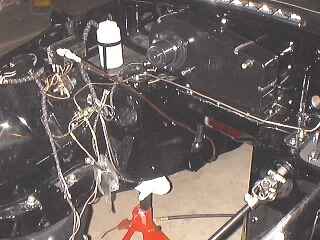
Here's the engine compartment, including the heater box. Notice the
routing of the fuel line. I struggled to figure out the proper routing
until I found
a picture I had taken previously
that gave me the clue I needed.
This shows the completed wiring on the passenger's side of the engine compartment.
The wiring has been much easier than I thought it would be, thanks
to the correct color coding in the new wiring harness, as well as the accurate
schematics in the service manuals I have.
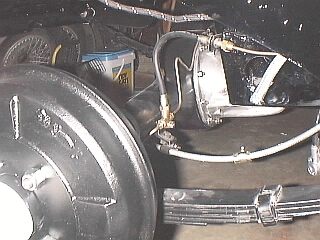
This shows the rear end, including the hydraulic brake lines and the handbrake
cable.
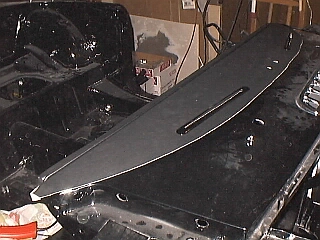
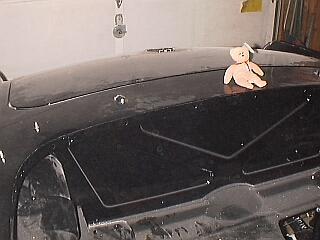
Here's the emblems on the trunk lid. I'm going to order another octagon
and MG badge, because the ones I have are really not very nice. I got
really lucky with the MGB emblem. The holes for it had been filled, and I
couldn't tell where they had been. So I just eyeballed it and picked
a spot that I thought would look good, and started drilling a hole. The
drill immediately popped through the body filler that had filled the previous
hole! If I had been as little as an eighth of an inch off, I'd have
had a mess.

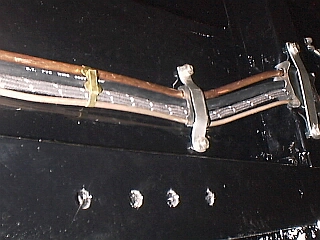
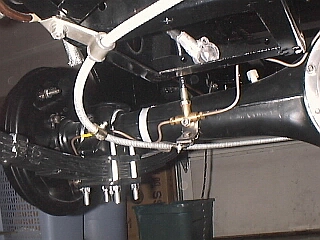
This shows the underside of the car, with the wiring harness, battery cable,
brake line, and fuel line running the length of the car. I struggled
with these for several days to get them installed properly, but I think they
look ok now.
Another shot of the wiring and plumbing under the car, this time toward
the front of the car.
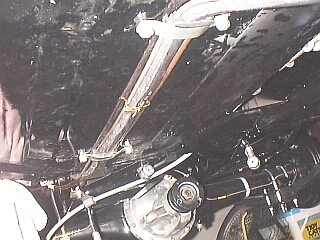
Here's the handbrake mechanism in the tunnel under the car...I wonder how
long it'll look this good!
Another view of the underside of the car, this time the right rear.
This is my new mascot...a British "beany-baby" that my wife picked up.
This shot reminds me that I have two bad spots in the paint now. One
is a gouge I put in the underside of the trunk lid. The other is under
one of the studs for the convertible top...it's the one you can plainly see
in this shot on the passenger's side of the car. I didn't think I could
get a wrench on the nut to tighten it down, so I turned the stud instead.
That was a mistake, because it tore into the clear coat and made it
look pretty bad. My brother-in-law (my body man) will be coming over
tomorrow for Christmas, so I'll see if he has any ideas what I can do about
either of these bad spots.
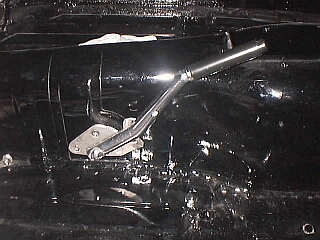
Here's the handbrake lever.
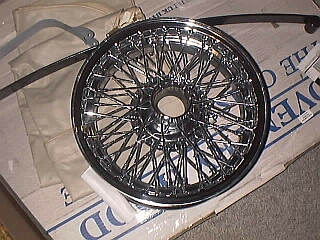
And here's one of my new wire wheels! I decided to make the final
big order, including a set of 60 spoke chrome wire wheels. I was actually
quite surprised, because the price I paid was about $90 less than the price
in the catalog (for a set of 4). That combined with the fact that I
decided to go with the 60 spoke rather than the 72 spoke saved me almost $400
off what I was planning on spending for wire wheels. Now the only major expenses
are tires and batteries, although I already have a list of several small
items I need to get.
|
|
|
|